Creating a Skybox with Reflections in React Three Fiber
Setting the Scene
A skybox is a method for creating a background in the distance of our 3D scene that encompasses everything no matter which direction the camera is pointing. Essentially a skybox is a large cube that contains our entire scene and the camera. When we create one we place textures on all six interior sides of the cube to simulate a backdrop in every direction.
Let's learn how to create a skybox in React Three Fiber and make that skybox interact with other objects and materials in our scene via reflections. Here's the finished project if you want just to dive in and play around. If you want to step through building it together or get some more information about how it works, you can follow along below.
Starting Point
Here is the code to set up a React Three Fiber Scene with a Sphere object, and orbit controls built-in. We want to focus on creating the skybox. If you are entirely new to React Three Fiber you might want to start with the introduction tutorial to learn the fundamentals of React Three Fiber.
import React, { useRef } from "react";
import { Canvas, extend, useThree, useFrame } from "react-three-fiber";
import { OrbitControls } from "three/examples/jsm/controls/OrbitControls";
import "./styles.css";

extend({ OrbitControls });

const CameraControls = () => {
  // Get a reference to the Three.js Camera, and the canvas html element.
  // We need these to setup the OrbitControls class.
  // https://threejs.org/docs/#examples/en/controls/OrbitControls

  const {
    camera,
    gl: { domElement },
  } = useThree();

  // Ref to the controls, so that we can update them on every frame with useFrame
  const controls = useRef();
  useFrame(() => controls.current.update());
  return (
    <orbitControls
      ref={controls}
      args={[camera, domElement]}
      autoRotate={true}
      enableZoom={false}
    />
  );
};

// Geometry
function Sphere() {
  return (
    <mesh visible position={[0, 0, 0]} rotation={[0, 0, 0]} castShadow>
      <sphereGeometry attach="geometry" args={[2, 32, 32]} />
      <meshBasicMaterial
        attach="material"
        color="white"
        roughness={0.1}
        metalness={1}
      />
    </mesh>
  );
}

// Lights
function App() {
  return (
    <Canvas className="canvas">
      <CameraControls />
      <Sphere />
    </Canvas>
  );
}

export default App;
Creating the Skybox Component
We will need a component to control our SkyBox, so let's create one now. Notice how it returns null this is because we will not be creating any new objects with this component in our scene.
Instead, we will use it as a controller to set a property in our scene, as we will see in the next step when we load and apply the skybox textures.
import React, { useRef } from "react";
import { Canvas, extend, useThree, useFrame } from "react-three-fiber";
import { OrbitControls } from "three/examples/jsm/controls/OrbitControls";
import "./styles.css";

extend({ OrbitControls });

const CameraControls = () => {
  // Get a reference to the Three.js Camera, and the canvas html element.
  // We need these to setup the OrbitControls class.
  // https://threejs.org/docs/#examples/en/controls/OrbitControls

  const {
    camera,
    gl: { domElement },
  } = useThree();

  // Ref to the controls, so that we can update them on every frame with useFrame
  const controls = useRef();
  useFrame(() => controls.current.update());
  return (
    <orbitControls
      ref={controls}
      args={[camera, domElement]}
      autoRotate={true}
      enableZoom={false}
    />
  );
};

// highlight-start
// Loads the skybox texture and applies it to the scene.
function SkyBox() {
  return null;
}
// highlight-end

// Geometry
function Sphere() {
  return (
    <mesh visible position={[0, 0, 0]} rotation={[0, 0, 0]} castShadow>
      <sphereGeometry attach="geometry" args={[2, 32, 32]} />
      <meshBasicMaterial
        attach="material"
        color="white"
        roughness={0.1}
        metalness={1}
      />
    </mesh>
  );
}

// Lights
function App() {
  return (
    <Canvas className="canvas">
      <CameraControls />
      <Sphere />
      <SkyBox /> // highlight-line
    </Canvas>
  );
}

export default App;
Creating The Skybox Textures
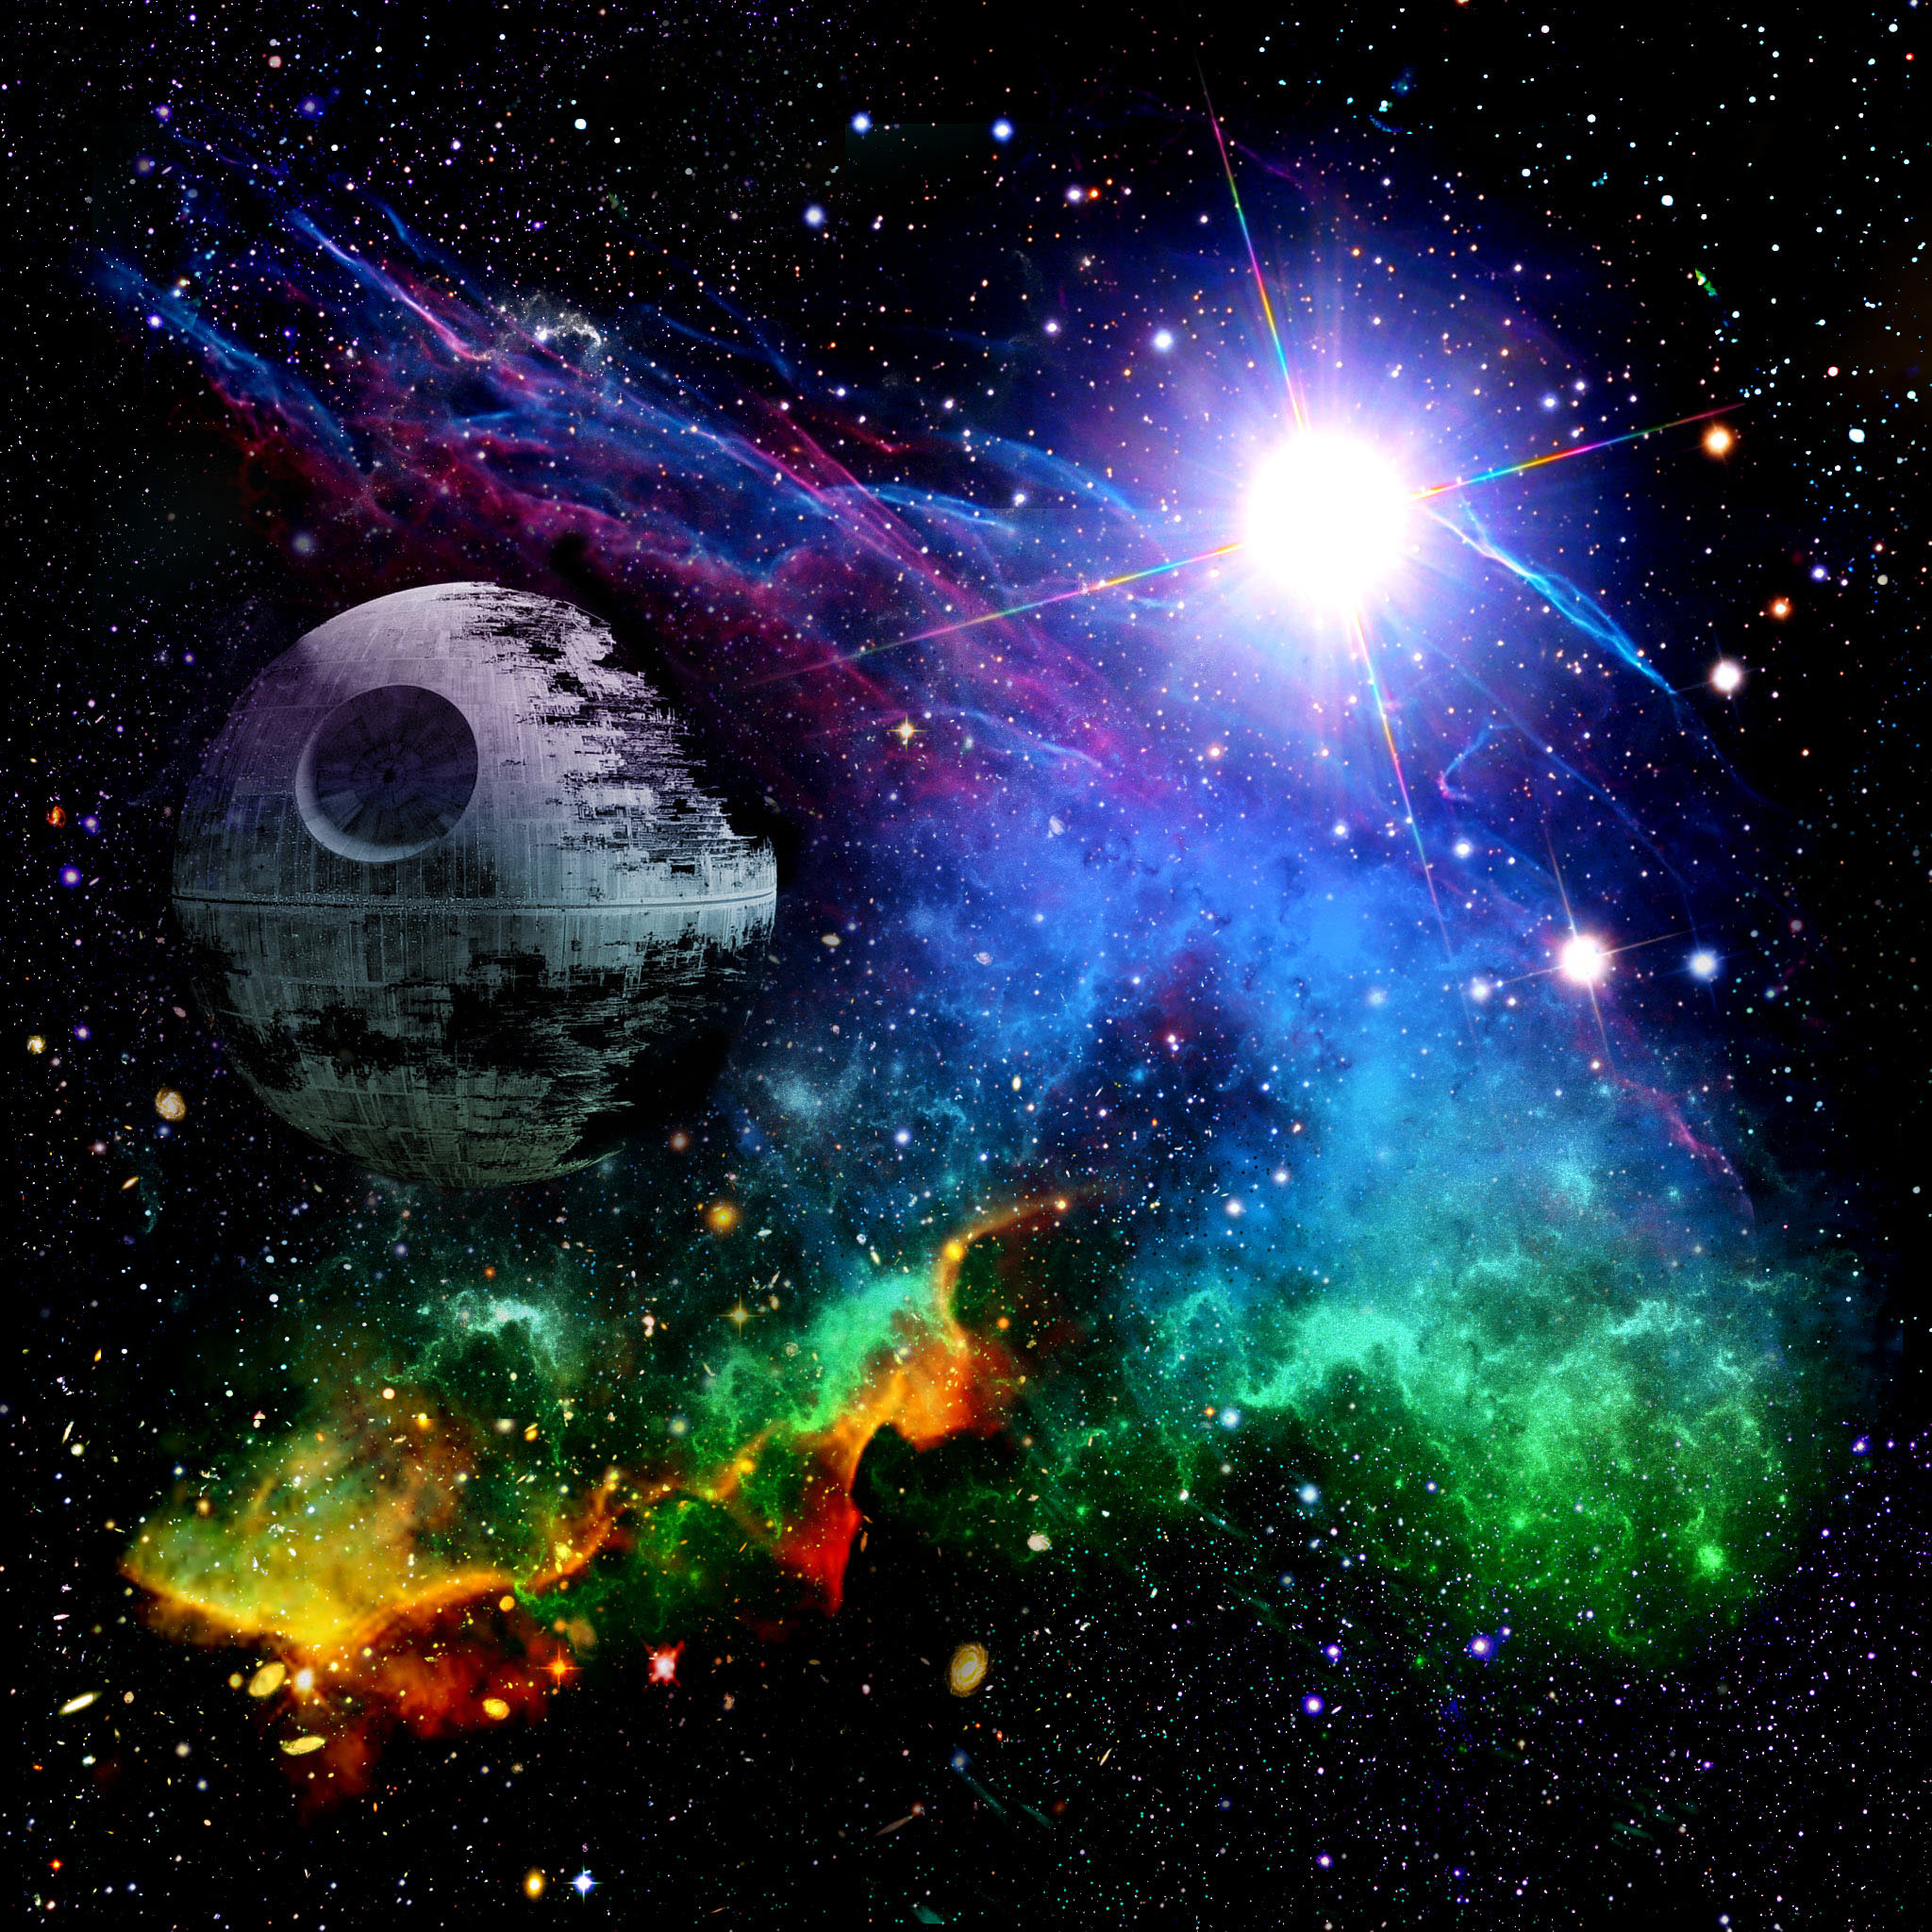
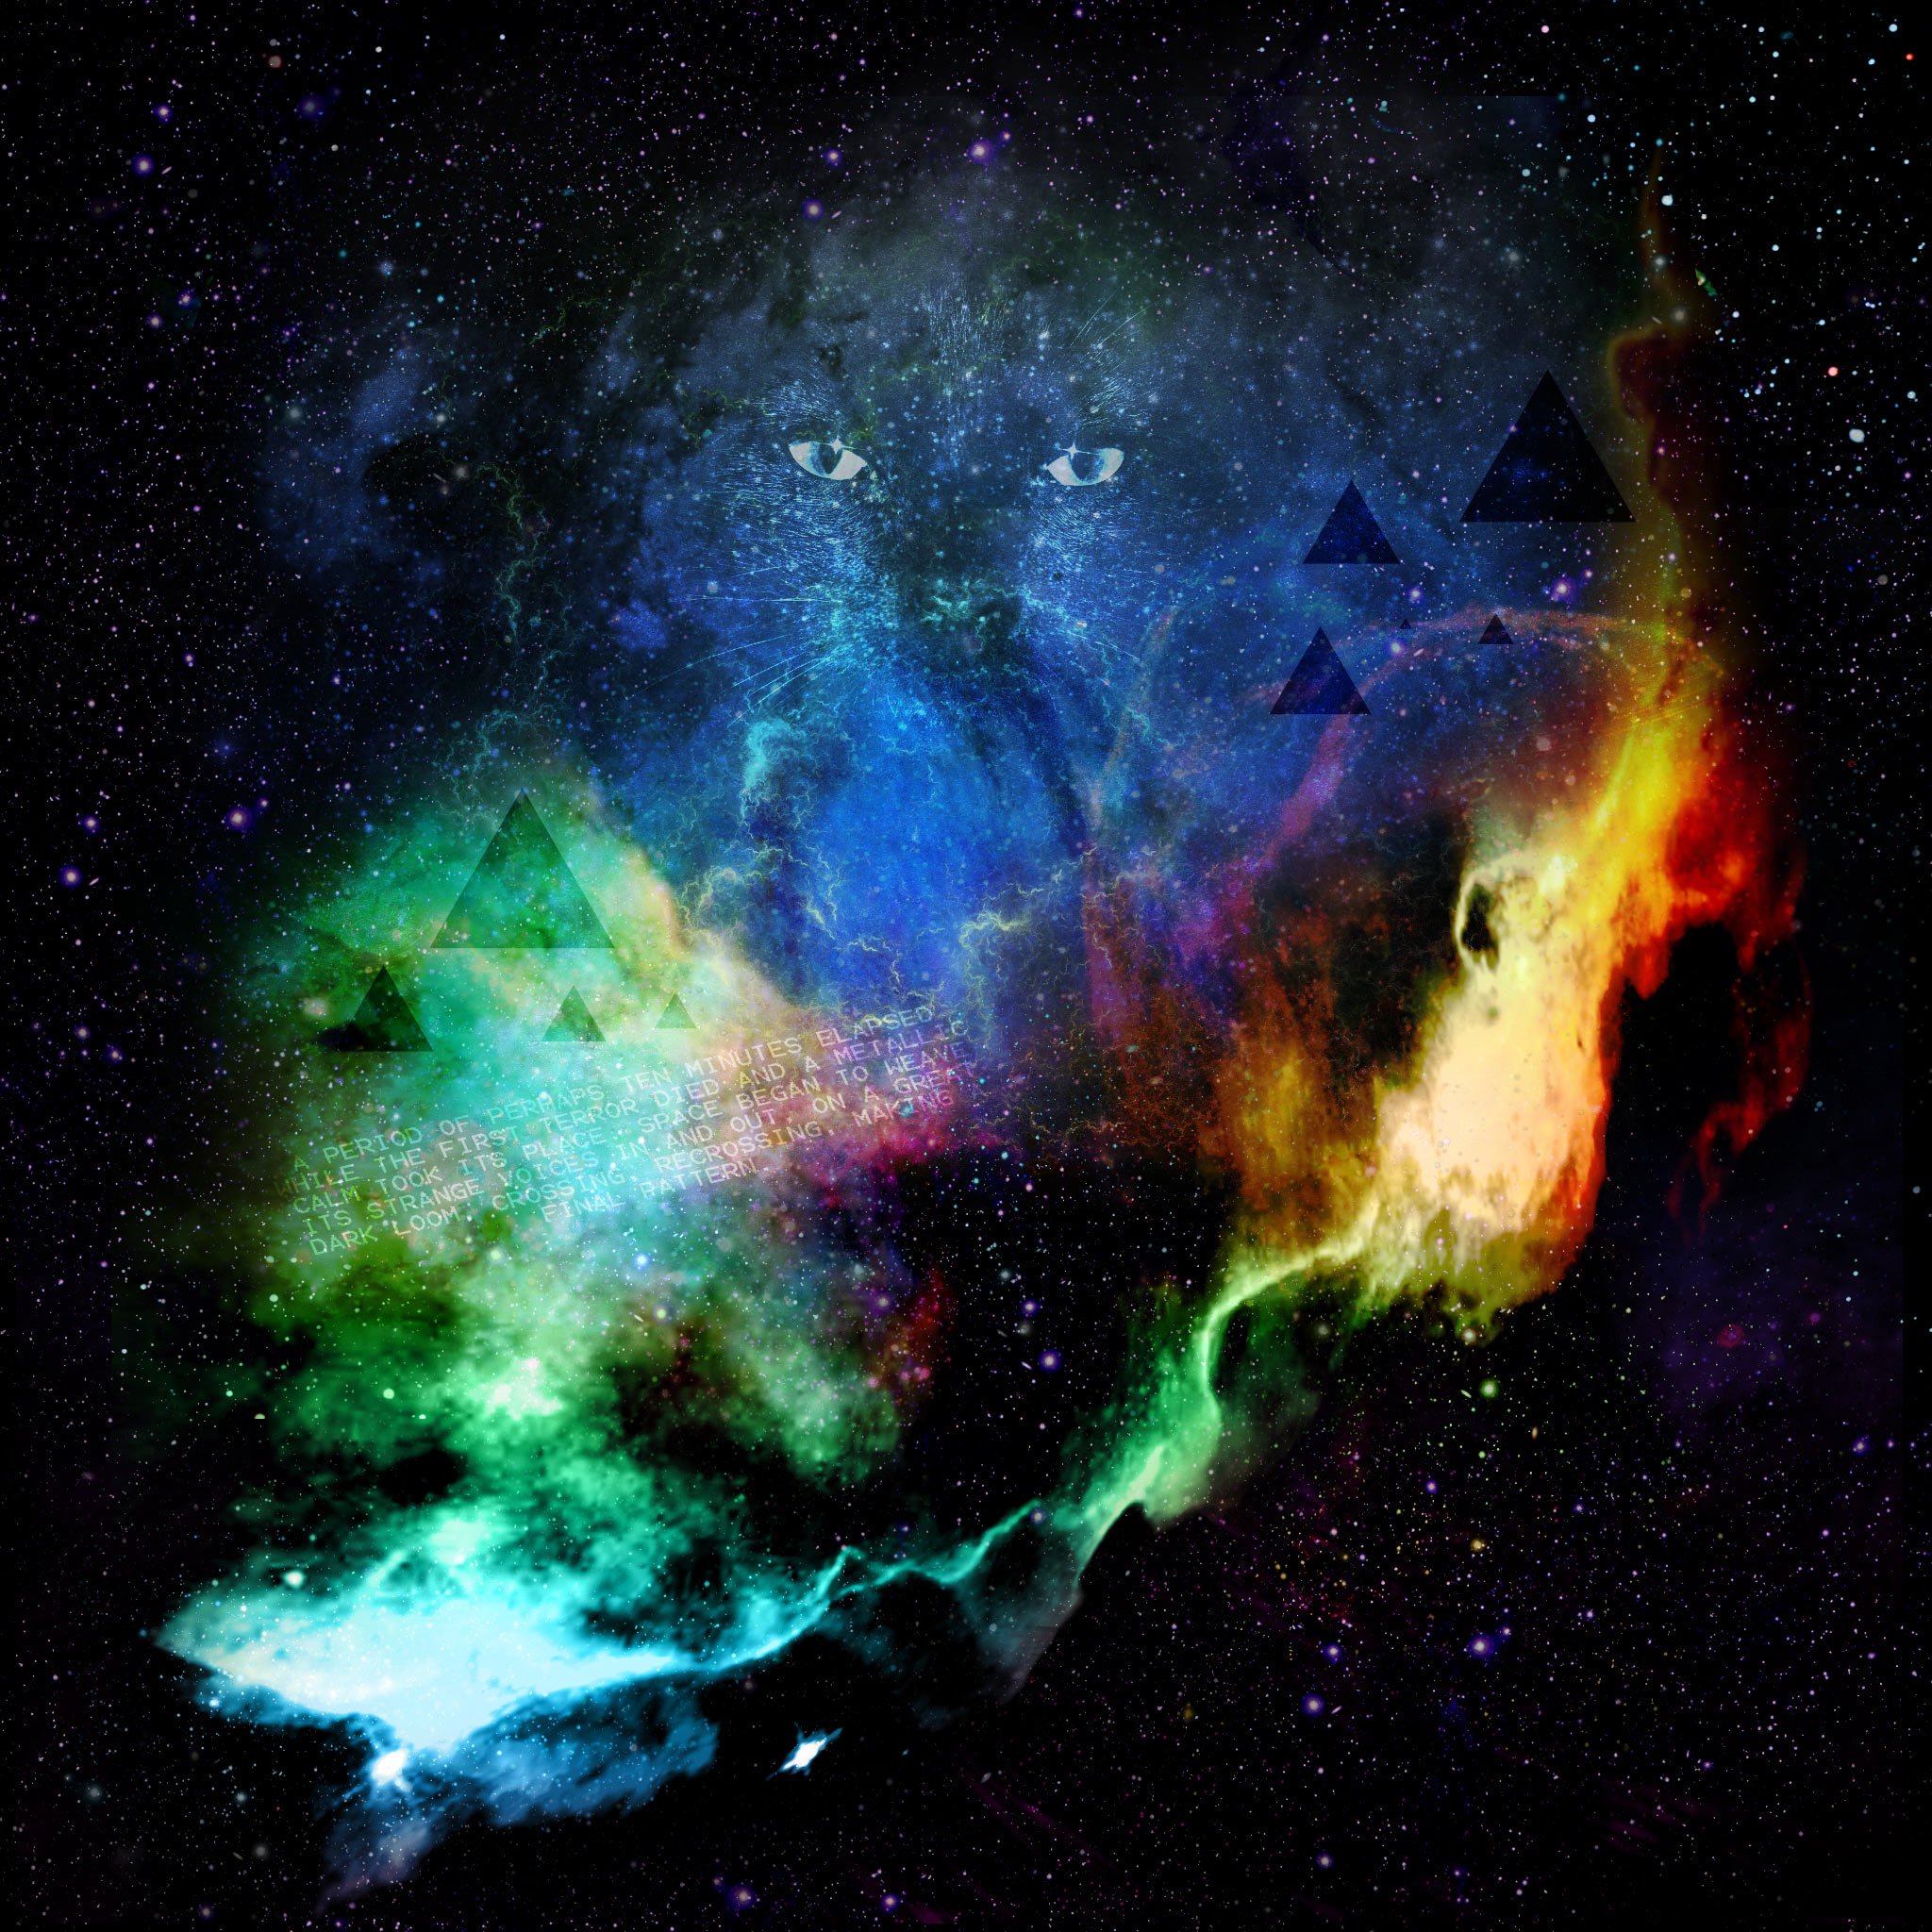
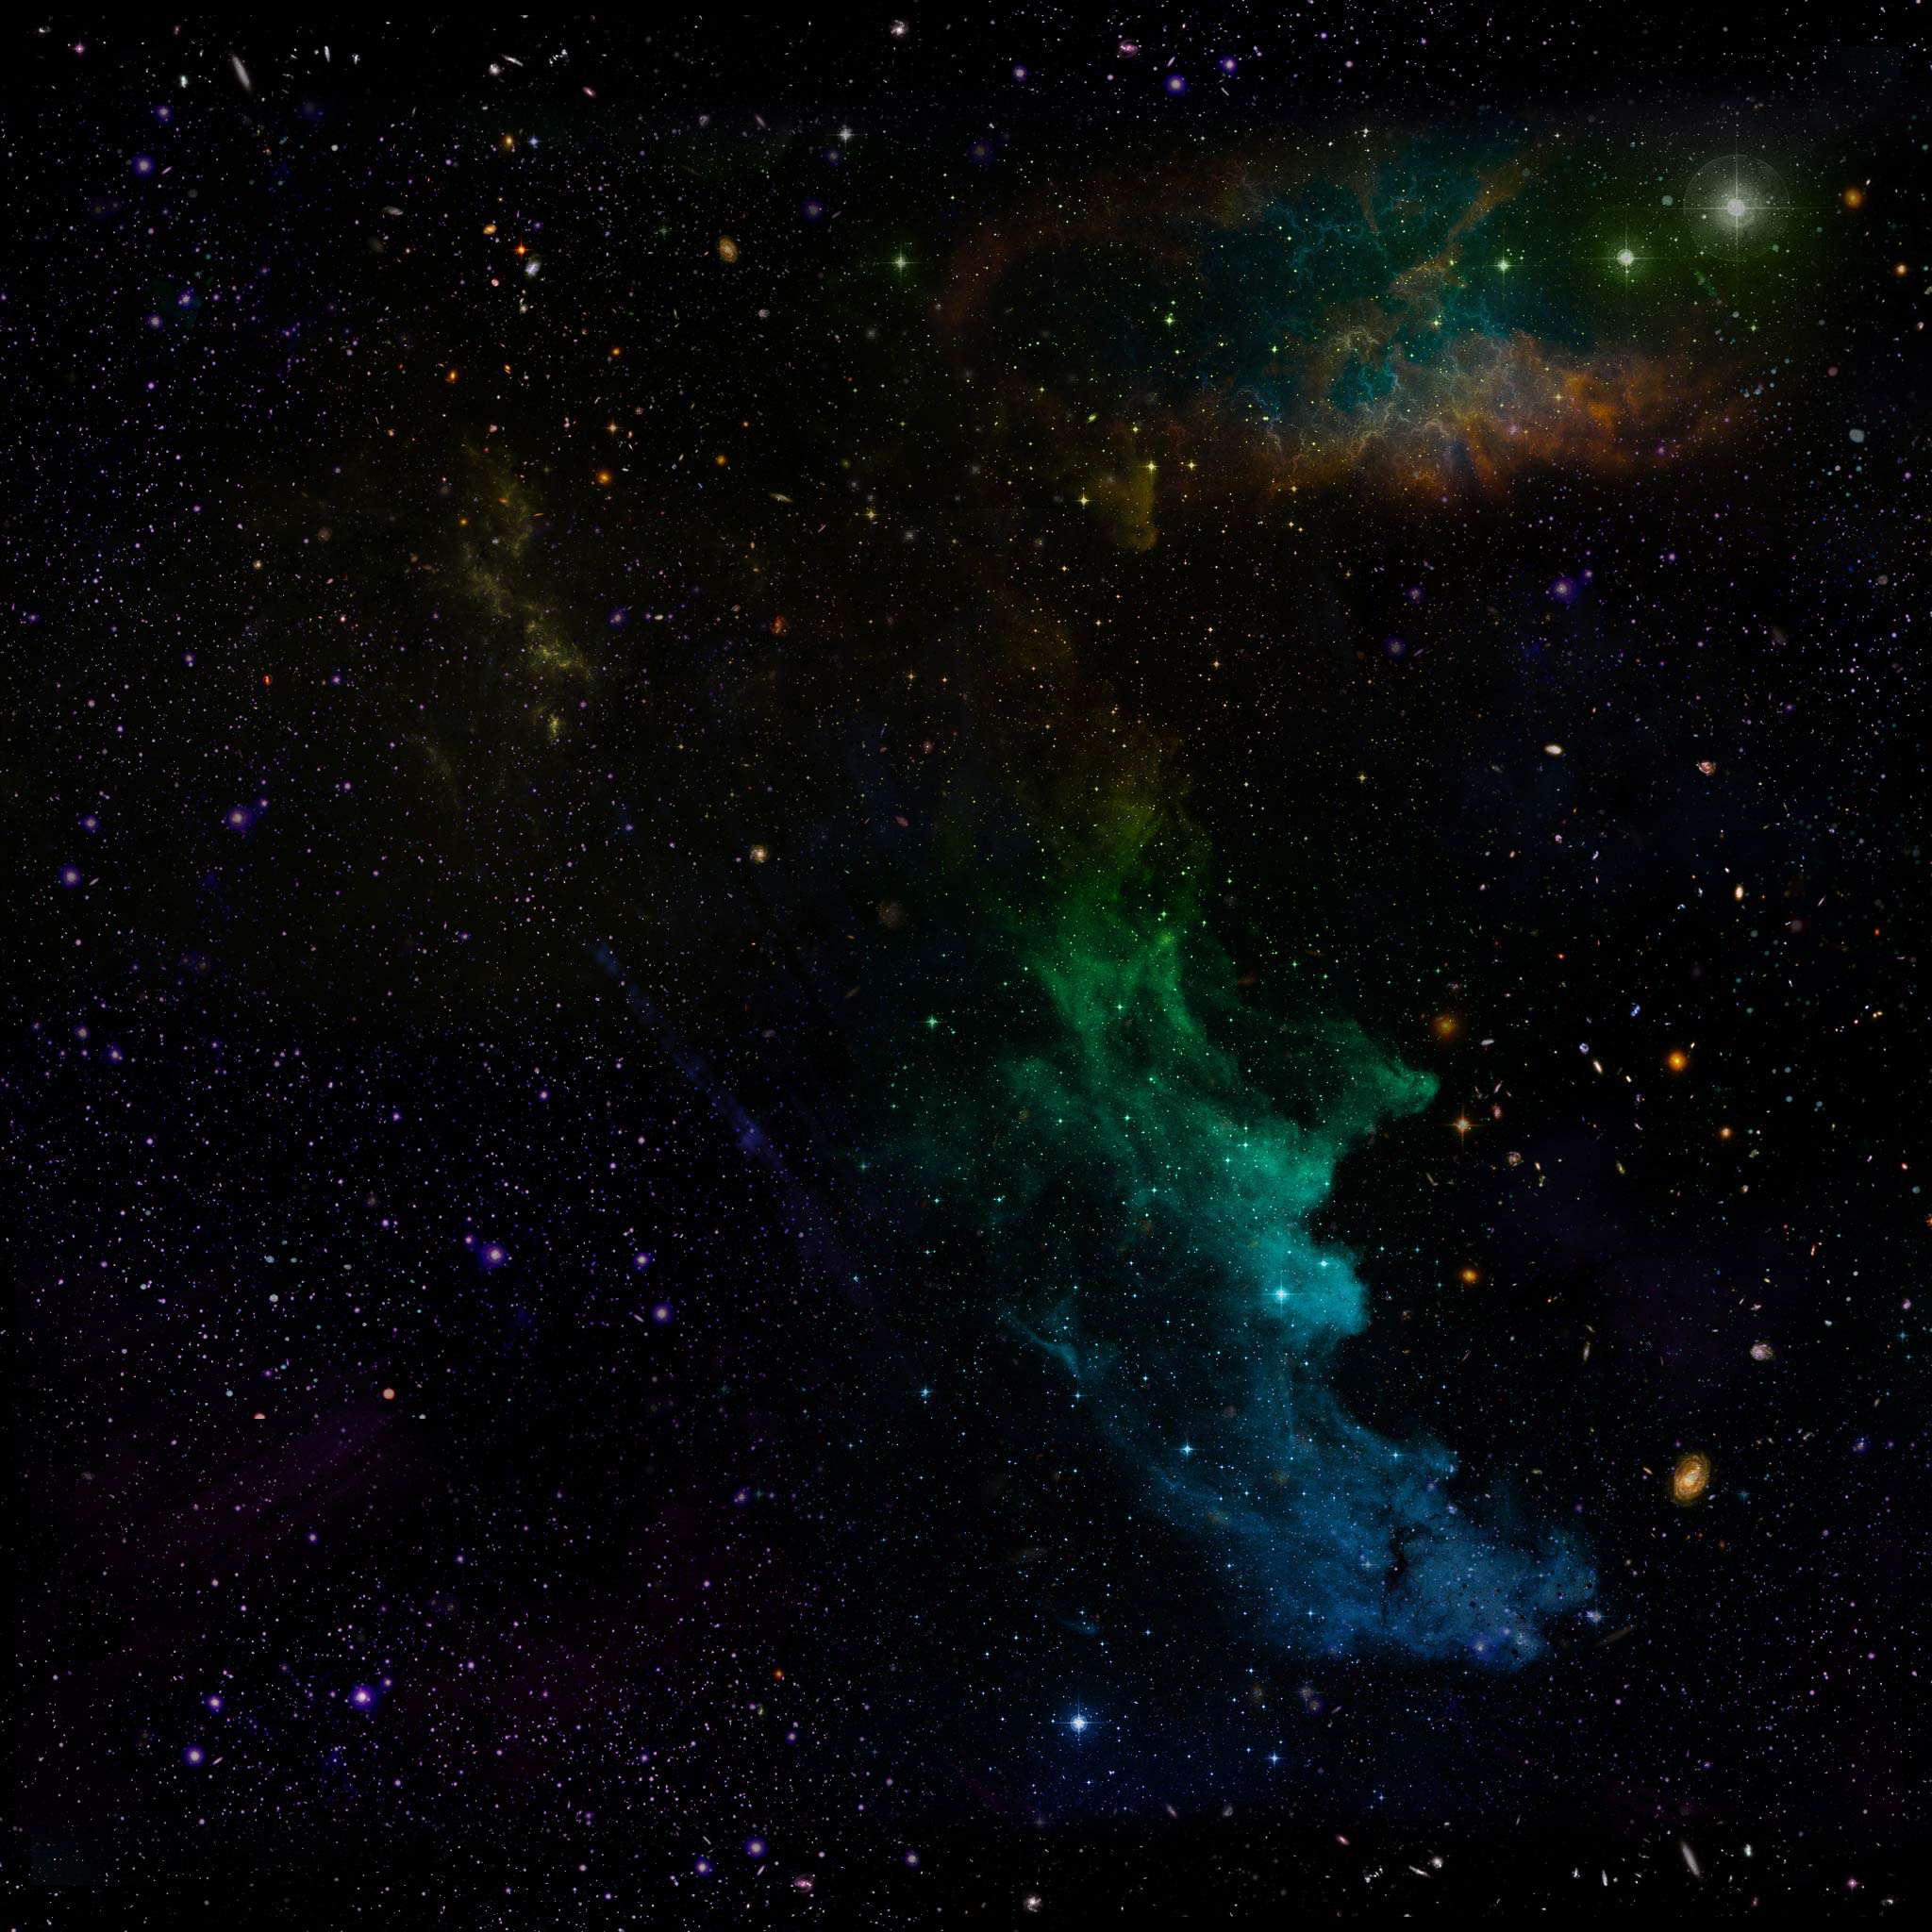
We are going to need some art assets for our skybox. In this case, six square images, one for each side of the cube. We can create them as separate images since we will be using a loader that can load and combine them all into a final texture. You can use the sample images provided, or try creating your own in photoshop if you want. If you create your own, try to make sure the borders of all six images will look good stitched together. You'll notice in the provided images you can see the boundaries because I pulled them from an old project and am missing one of the sides. Ideally, you would not be able to tell that the skybox was a cube.

Demo Images
Loading The Skybox Textures Into The Scene
Now we're ready to create our skybox. Starting inside of our SkyBox component, we will need to get a reference to our Three.JS scene with the useThree hook. Then we are ready to use the CubeTextureLoader included with Three.JS to load our six textures. Create an instance of the CubeTextureLoader and then call the load method with an array containing the six URLs of your images. This will return a CubeTexture. A CubeTexture can be assigned to the global scene.background which we get a reference to with useThree, and that's it our skybox is loaded, and you should see it in your scene.
import React, { useRef } from "react";
import { Canvas, extend, useThree, useFrame } from "react-three-fiber";
import { CubeTextureLoader } from "three"; // highlight-line
import { OrbitControls } from "three/examples/jsm/controls/OrbitControls";
import "./styles.css";

extend({ OrbitControls });

const CameraControls = () => {
  // Get a reference to the Three.js Camera, and the canvas html element.
  // We need these to setup the OrbitControls class.
  // https://threejs.org/docs/#examples/en/controls/OrbitControls

  const {
    camera,
    gl: { domElement },
  } = useThree();

  // Ref to the controls, so that we can update them on every frame with useFrame
  const controls = useRef();
  useFrame(() => controls.current.update());
  return (
    <orbitControls
      ref={controls}
      args={[camera, domElement]}
      autoRotate={true}
      enableZoom={false}
    />
  );
};

// Loads the skybox texture and applies it to the scene.
function SkyBox() {
  // highlight-start
  const { scene } = useThree();
  const loader = new CubeTextureLoader();
  // The CubeTextureLoader load method takes an array of urls representing all 6 sides of the cube.
  const texture = loader.load([
    "https://6izyu.csb.app/4b.jpg",
    "https://6izyu.csb.app/3.jpg",
    "https://6izyu.csb.app/4b.jpg",
    "https://6izyu.csb.app/4.jpg",
    "https://6izyu.csb.app/5.jpg",
    "https://6izyu.csb.app/2.jpg",
  ]);

  // Set the scene background property to the resulting texture.
  scene.background = texture;
  // highlight-end
  return null;
}

// A simple sphere in the center of the scene that will reflect the surroundings.
function Sphere() {
  return (
    <mesh visible position={[0, 0, 0]} rotation={[0, 0, 0]} castShadow>
      <sphereGeometry attach="geometry" args={[2, 32, 32]} />
      <meshBasicMaterial
        attach="material"
        envMap={cubeCamera.renderTarget.texture}
        color="white"
        roughness={0.1}
        metalness={1}
      />
    </mesh>
  );
}

// Lights
function App() {
  return (
    <Canvas className="canvas">
      <CameraControls />
      <Sphere />
      <SkyBox />
    </Canvas>
  );
}

export default App;
Using a Render Target To Create Reflections of the Sky Box
If you did not care about having any objects reflect your new skybox, we would be done now, but you'll notice we have a metallic sphere in the scene, and it looks a bit off because it does not reflect anything in the background. In Three.JS you need to set this up manually by attaching a texture to the environment map property of the material you want to have a reflection. To do so, we will need three new concepts.
What we need to do is add a CubeCamera to observe the surrounding scene in all directions, pipe that in to a RenderTarget which will result in a TextureCube containing the current surroundings, and then apply that TextureCube to the environment map of the sphere material. This is what allows the sphere to appear to be reflecting the surrounding scene. It's actually the piped data from the camera being passed to the material. Since the camera needs to be updated on every frame to respond to changes in the scene we also must add a useFrame hook to the Sphere component and call cubeCamera.update(gl, scene).
import React, { useRef } from "react";
import { Canvas, extend, useThree, useFrame } from "react-three-fiber";
import {
  CubeTextureLoader,
  CubeCamera, //highlight-line
  WebGLCubeRenderTarget, //highlight-line
  RGBFormat, //highlight-line
  LinearMipmapLinearFilter, //highlight-line
} from "three";
import { OrbitControls } from "three/examples/jsm/controls/OrbitControls";
import "./styles.css";

extend({ OrbitControls });

const CameraControls = () => {
  // Get a reference to the Three.js Camera, and the canvas html element.
  // We need these to setup the OrbitControls class.
  // https://threejs.org/docs/#examples/en/controls/OrbitControls

  const {
    camera,
    gl: { domElement },
  } = useThree();

  // Ref to the controls, so that we can update them on every frame with useFrame
  const controls = useRef();
  useFrame(() => controls.current.update());
  return (
    <orbitControls
      ref={controls}
      args={[camera, domElement]}
      autoRotate={true}
      enableZoom={false}
    />
  );
};

// Loads the skybox texture and applies it to the scene.
function SkyBox() {
  const { scene } = useThree();
  const loader = new CubeTextureLoader();
  // The CubeTextureLoader load method takes an array of urls representing all 6 sides of the cube.
  const texture = loader.load([
    "https://6izyu.csb.app/4b.jpg",
    "https://6izyu.csb.app/3.jpg",
    "https://6izyu.csb.app/4b.jpg",
    "https://6izyu.csb.app/4.jpg",
    "https://6izyu.csb.app/5.jpg",
    "https://6izyu.csb.app/2.jpg",
  ]);

  // Set the scene background property to the resulting texture.
  scene.background = texture;
  return null;
}

// Geometry
function Sphere() {
  // highlight-start
  const { scene, gl } = useThree();
  // The cubeRenderTarget is used to generate a texture for the reflective sphere.
  // It must be updated on each frame in order to track camera movement and other changes.
  const cubeRenderTarget = new WebGLCubeRenderTarget(256, {
    format: RGBFormat,
    generateMipmaps: true,
    minFilter: LinearMipmapLinearFilter,
  });
  const cubeCamera = new CubeCamera(1, 1000, cubeRenderTarget);
  cubeCamera.position.set(0, 100, 0);
  scene.add(cubeCamera);

  // Update the cubeCamera with current renderer and scene.
  useFrame(() => cubeCamera.update(gl, scene));
  // highlight-end
  return (
    <mesh visible position={[0, 0, 0]} rotation={[0, 0, 0]} castShadow>
      <sphereGeometry attach="geometry" args={[2, 32, 32]} />
      <meshBasicMaterial
        attach="material"
        envMap={cubeCamera.renderTarget.texture} // highlight-line
        color="white"
        roughness={0.1}
        metalness={1}
      />
    </mesh>
  );
}

// Lights
function App() {
  return (
    <Canvas className="canvas">
      <CameraControls />
      <Sphere />
      <SkyBox />
    </Canvas>
  );
}

export default App;
In a future tutorial, we will expand on this slightly by looking at how to have transparent textures that refract light with a skybox. We will have many more React Three Fiber tutorials coming soon, so subscribe to the Code Workshop mailing list for updates.